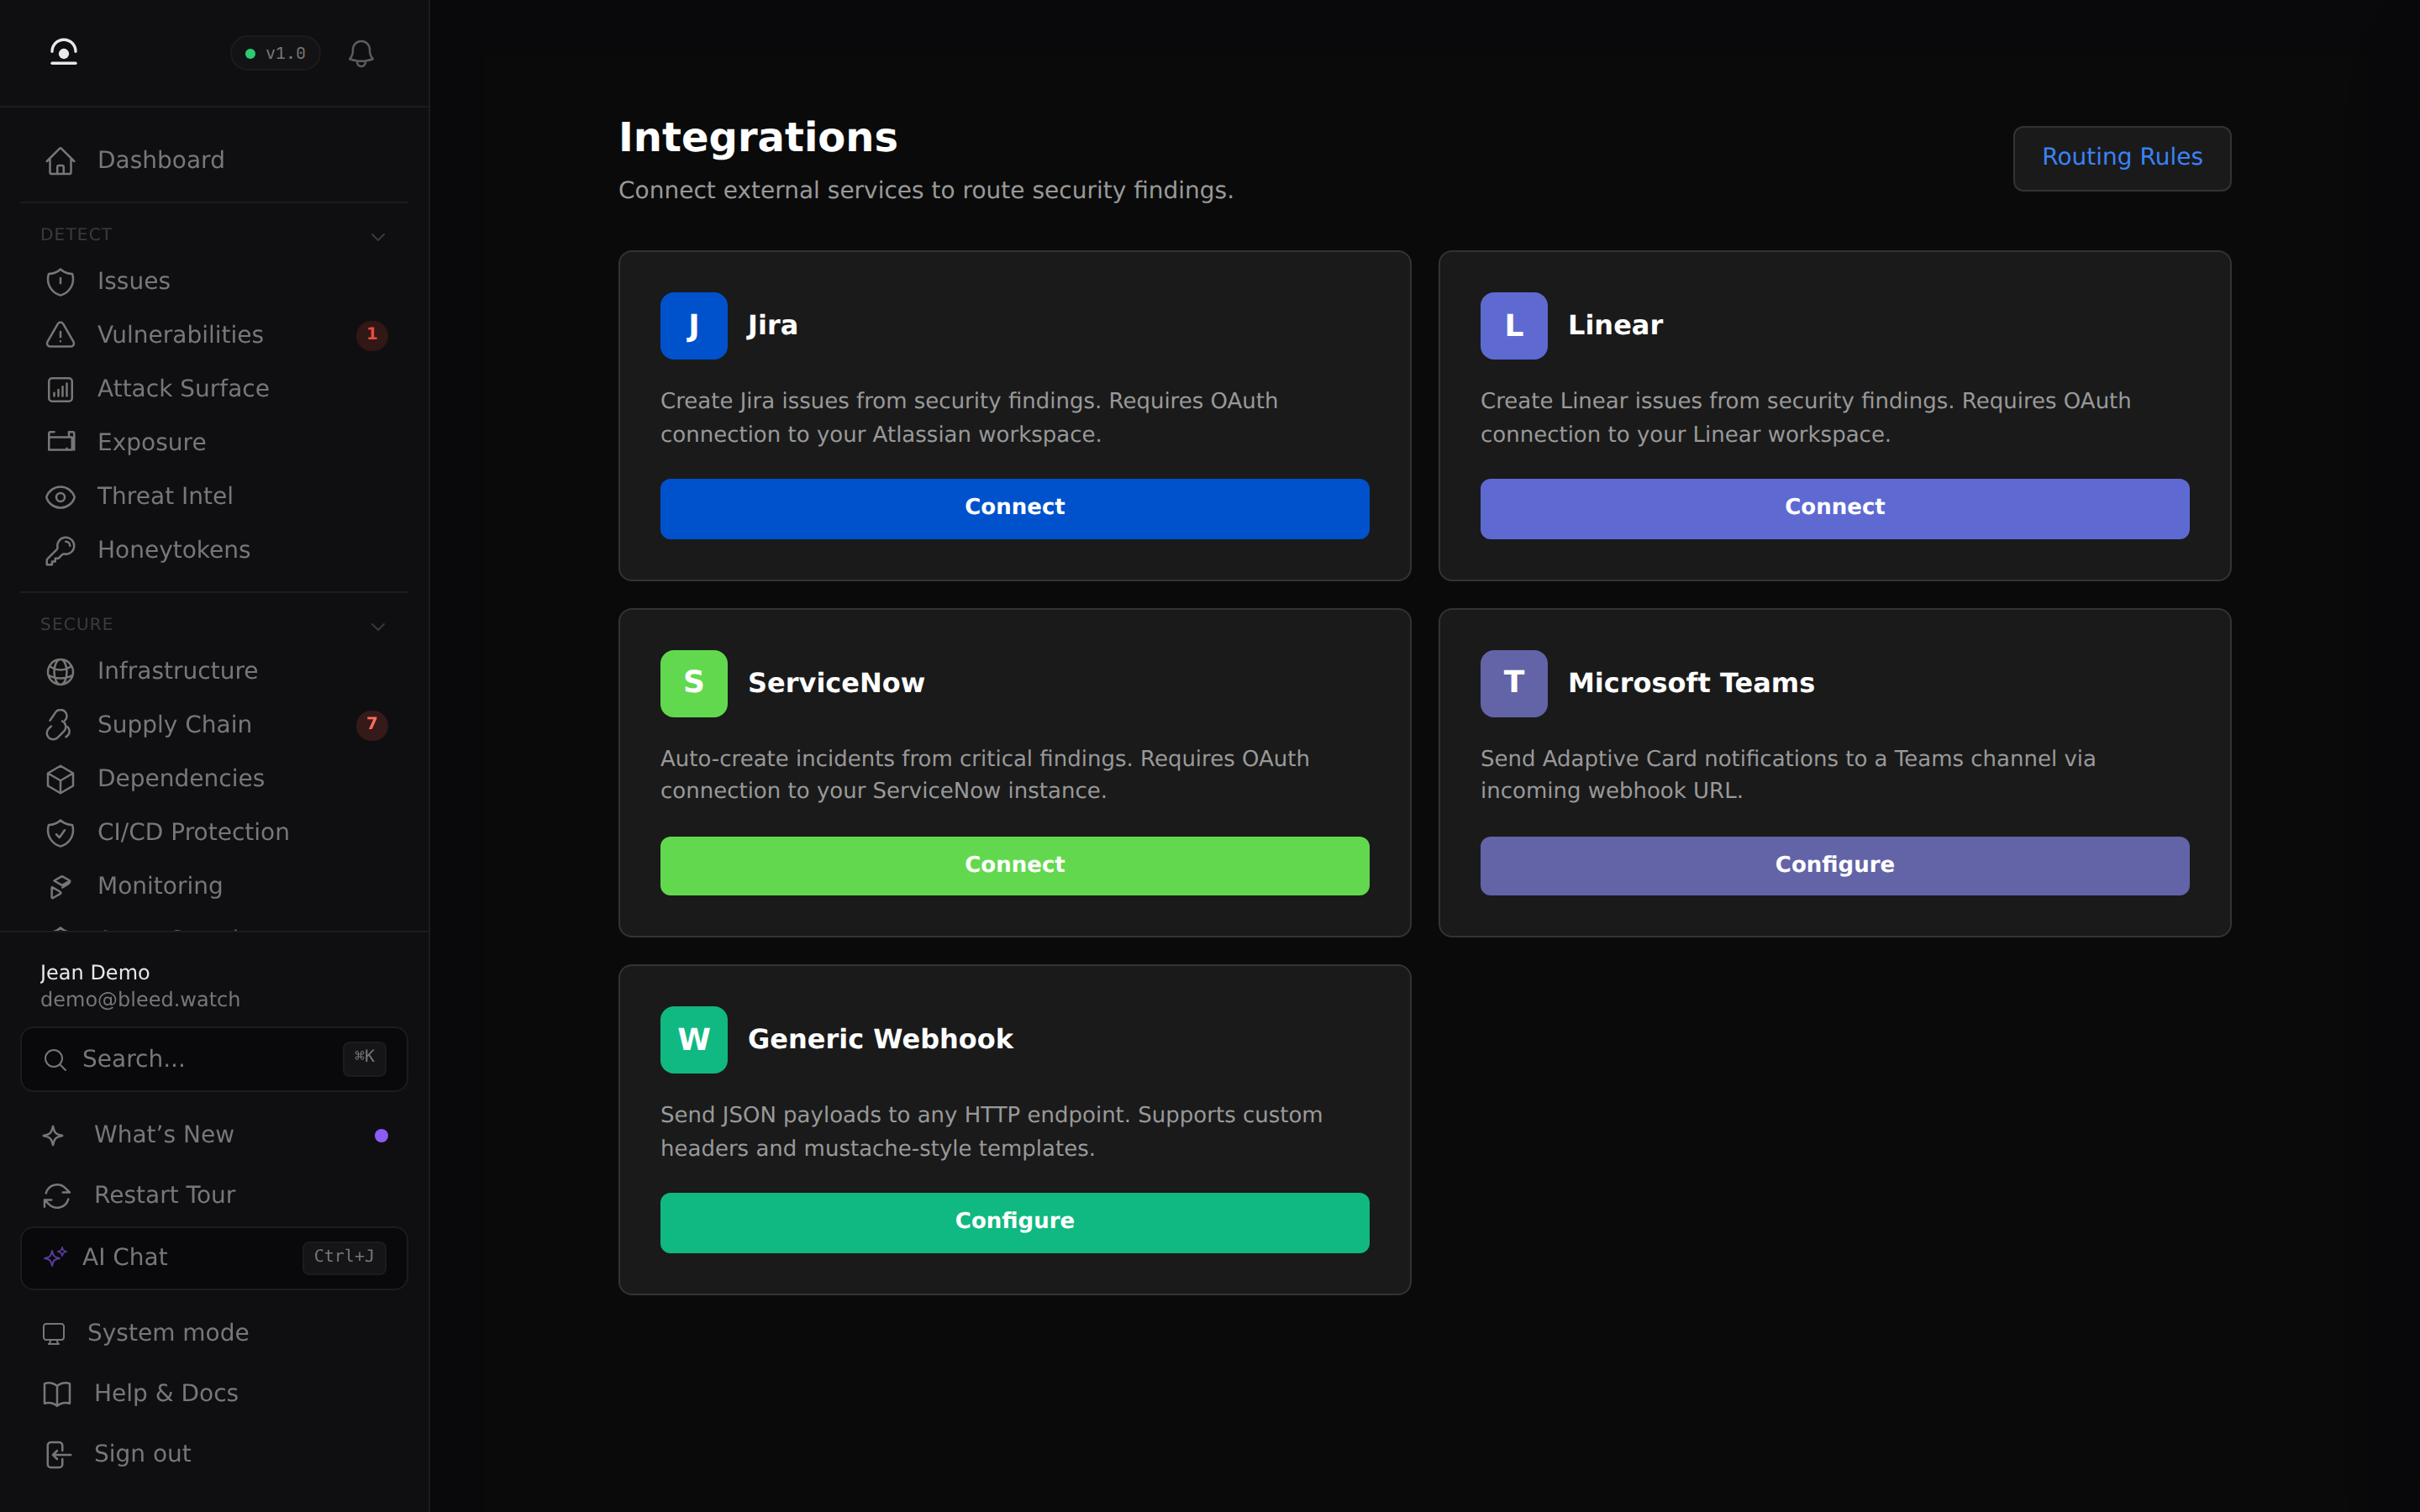
ServiceNow — Auto-create Incidents from Findings
Connect your ServiceNow instance to automatically turn critical BleedWatch findings into incidents in your ITSM pipeline. Your ServiceNow queues pick them up, assign them to the right team, and track resolution — without manual triage.
Each ServiceNow tenant is self-hosted by the client, so the OAuth flow requires a one-time setup on your instance. Budget 15–20 minutes for the full walkthrough. Once connected, BleedWatch handles token refresh transparently.
Before you start
- You are an admin on your ServiceNow instance (you can create OAuth Application Registries).
- You have access to BleedWatch with the Admin role.
- Your ServiceNow instance hostname — it looks like
acme.service-now.comordev123456.service-now.com.
Step 1 — Create an OAuth Application Registry in ServiceNow
- Log in to your ServiceNow instance as admin.
- In the left navigation (or "All" top bar), type Application Registry and open System OAuth → Application Registry.
- Click New (top-right).
- On the type picker, choose Create an OAuth API endpoint for external clients.
Fill the form:
| Field | Value |
|---|---|
| Name | BleedWatch Integration |
| Client ID | auto-generated — copy it after save |
| Client Secret | auto-generated — copy it after save (reveal with the 🔒 icon) |
| Redirect URL | https://api.bleedwatch.com/api/v1/sentinel/integrations/servicenow/callback |
| Logo URL (optional) | https://app.bleedwatch.com/icon-red-point-512x512.png |
| Accessible from | All application scopes |
| Refresh Token Lifespan | Leave default (8,640,000 seconds = 100 days) |
| Access Token Lifespan | Leave default (1,800 seconds = 30 minutes) |
Click Submit.
The Redirect URL must match exactly (scheme, host, path) what BleedWatch sends in the OAuth flow. Trailing slashes, http vs https, missing path segments — any mismatch yields a generic "invalid_client" error with no hint.
Step 2 — Note your credentials
On the saved record, you now see:
- Client ID — 32-character hex string
- Client Secret — click the 🔒 next to the field to reveal
Keep this tab open; you'll need both in Step 3.
Step 3 — Connect BleedWatch
Today, connecting a ServiceNow instance requires BleedWatch staff to configure your Client ID and Client Secret on our side. This is a short-lived manual step:
- Open a support ticket via the BleedWatch dashboard (bottom-right chat) with:
- Subject:
ServiceNow OAuth onboarding - Your ServiceNow hostname (e.g.
acme.service-now.com) - Your Client ID
- Your Client Secret (we store it encrypted immediately; never logged)
- Subject:
- Our team confirms within one business day that your credentials are wired up.
Once confirmed:
- In BleedWatch, go to Sentinel → Integrations.
- On the ServiceNow card, click Connect.
- When prompted, enter your instance hostname (e.g.
acme.service-now.com). - You are redirected to ServiceNow's authorize page. Sign in with the account that should own the created incidents (we recommend a dedicated service user — see below).
- Click Allow.
- You are redirected back to BleedWatch with the card showing ● Connected + your instance URL.
We're rolling out self-serve OAuth credential entry in the Integrations UI. When it ships, Step 3 becomes a field on the Connect dialog — no support ticket needed.
Step 4 — Route findings to ServiceNow
Connecting only establishes trust. Nothing is created until you configure a routing rule.
- Go to Sentinel → Routing Rules → + New rule.
- Set:
- Trigger:
Severity: critical(and/or any finding types you care about) - Channel:
servicenow
- Trigger:
- Save.
Every matching finding now triggers a POST /api/now/table/incident call to your ServiceNow instance, creating a new incident.
How findings map to incidents
BleedWatch maps severity → ServiceNow impact + urgency. Your instance's priority matrix then derives a priority value.
| BleedWatch severity | Impact | Urgency | Default priority |
|---|---|---|---|
| Critical | 1 | 1 | 1 — Critical |
| High | 2 | 1 | 2 — High |
| Medium | 2 | 2 | 3 — Moderate |
| Low | 3 | 2 | 4 — Low |
| Info | 3 | 3 | 5 — Planning |
If you customized the ServiceNow priority matrix via Business Rules, your values apply — BleedWatch only fills impact and urgency.
Other fields set on each incident:
short_description—[BleedWatch] CRITICAL — AWS access key in github/acme/api(capped at 160 chars)description— severity, secret type, source, file path (when available), and a deep-link back to the BleedWatch findingcategory—securityu_bleedwatch_finding_id— the BleedWatch finding UUID, stored on a custom field for deduplication
The u_bleedwatch_finding_id custom field will not exist on a default ServiceNow instance and the value will silently go to the incident's comments field instead. If you want durable finding → incident linkage, have your ServiceNow admin add a string custom field named u_bleedwatch_finding_id to the Incident table.
Troubleshooting
"Failed to start ServiceNow OAuth flow"
The SERVICENOW_OAUTH_CLIENT_ID server secret isn't set on our side. Open a support ticket so we can complete Step 3.
After Authorize, you land on an error page in ServiceNow
The Redirect URL in your Application Registry does not match exactly. Go back to Step 1 and check:
- Is it
https://(nothttp://)? - Is it
api.bleedwatch.com(notapp.bleedwatch.com)? - Is the path exactly
/api/v1/sentinel/integrations/servicenow/callbackwith no trailing slash?
"Invalid state parameter" on callback
The OAuth authorize took more than a few minutes (expired browser session) or you tampered with the URL. Start over at Sentinel → Integrations → Connect.
"Failed to exchange ServiceNow auth code" (HTTP 502)
Client Secret in your Application Registry does not match the value stored on our side. Reveal it (🔒 icon) in ServiceNow, confirm it's what you sent us. If it was rotated in ServiceNow, open a support ticket with the new value.
Routing rule matches, but no incident appears in ServiceNow
- Confirm ● Connected in Sentinel → Integrations. If it flipped to disconnected, the refresh token expired (100 days). Click Connect again.
- Check that the OAuth user has
itilrole or equivalent. BleedWatch creates incidents as that user — without the role, the API returns 403. - Run the scan manually and watch the ServiceNow incident table with
sysparm_query=u_bleedwatch_finding_id=<finding-id>.
Incident shows up but with wrong priority
Your ServiceNow priority matrix is customized. This is expected and non-blocking. BleedWatch sets impact and urgency per the table above; your matrix does the rest.
Using a dedicated service user
We strongly recommend creating a dedicated ServiceNow user for the OAuth connection, rather than authorizing with a human admin's account.
- In ServiceNow, go to User Administration → Users → New.
- Username:
bleedwatch-integration. Check Web service access only if you do not want the account to log in via the UI. - Give it the
itilrole (minimum needed to create incidents) and any assignment group bindings appropriate for your team. - Go through Steps 1–3 of this guide signed in as that user.
This isolates the integration from your personnel lifecycle — no incidents break when an employee leaves.
Rotating the Client Secret
If the Client Secret was exposed or you rotate secrets on a schedule:
- In ServiceNow Application Registry, click the lock icon next to Client Secret → a new one is generated.
- Open a support ticket with the new value. We update our encrypted secret and confirm.
- No re-authorization is needed unless the refresh token also expired.
Disconnecting
Sentinel → Integrations → ServiceNow → Disconnect revokes the OAuth token in BleedWatch. Routing rules pointing at servicenow stop firing. Nothing is deleted on your ServiceNow instance — past incidents remain.
To fully revoke on the ServiceNow side, delete the Application Registry record created in Step 1.