Google Cloud Platform (GCP) — Cloud Asset Discovery
Connect a GCP project so BleedWatch can discover the public-facing assets it exposes (Cloud Storage buckets, Load Balancers, App Engine apps, Cloud Run services, Compute Engine public IPs, etc.) and surface them in your EASM scans.
This guide walks you through creating a dedicated service account in your GCP project, granting it the minimum read-only roles, and pasting its JSON key into BleedWatch.
BleedWatch never writes to your cloud. The service account only needs read access to the Cloud Asset Inventory API. If you need to verify what we call, see the API surface section.
Before you start
- You are a Project Owner or Project IAM Admin on the GCP project you want to scan.
- The project has billing enabled (required by the Cloud Asset Inventory API).
- You have access to BleedWatch with the Admin role (credential management is admin-only).
Estimated setup time: 10 minutes.
Step 1 — Enable the Cloud Asset Inventory API
- Open your GCP console and select the target project.
- Navigate to APIs & Services → Library.
- Search for
Cloud Asset APIand click Enable.
Alternatively, via CLI:
gcloud services enable cloudasset.googleapis.com --project YOUR_PROJECT_ID
Step 2 — Create a dedicated service account
- In the GCP console, go to IAM & Admin → Service Accounts → Create service account.
- Set:
- Service account name:
bleedwatch-scanner - Service account ID:
bleedwatch-scanner(auto-populated) - Description:
Read-only account used by BleedWatch to inventory public cloud assets.
- Service account name:
- Click Create and continue.
Step 3 — Grant the minimum roles
Grant exactly these two roles to the service account. Do not grant Owner, Editor, or any write-capable role.
| Role | Purpose |
|---|---|
roles/cloudasset.viewer | Read the Cloud Asset Inventory (what BleedWatch actually scans) |
roles/viewer | Read basic project metadata needed to enumerate assets |
Click Continue, then Done.
If your organization enforces a custom role policy that rejects roles/viewer, you can replace it with a custom role that grants resourcemanager.projects.get and compute.regions.list. BleedWatch tests the credential on save — if it works, it works.
Step 4 — Download the JSON key
- On the service accounts list, click the bleedwatch-scanner account you just created.
- Open the Keys tab → Add key → Create new key → JSON → Create.
- A file named
YOUR_PROJECT_ID-xxxxxxxx.jsondownloads automatically.
This JSON file is a secret equivalent to a password. Do not commit it to a repository, email it, or paste it into Slack. Move it directly into BleedWatch in Step 5 and delete the local copy afterwards.
Step 5 — Add the credential in BleedWatch
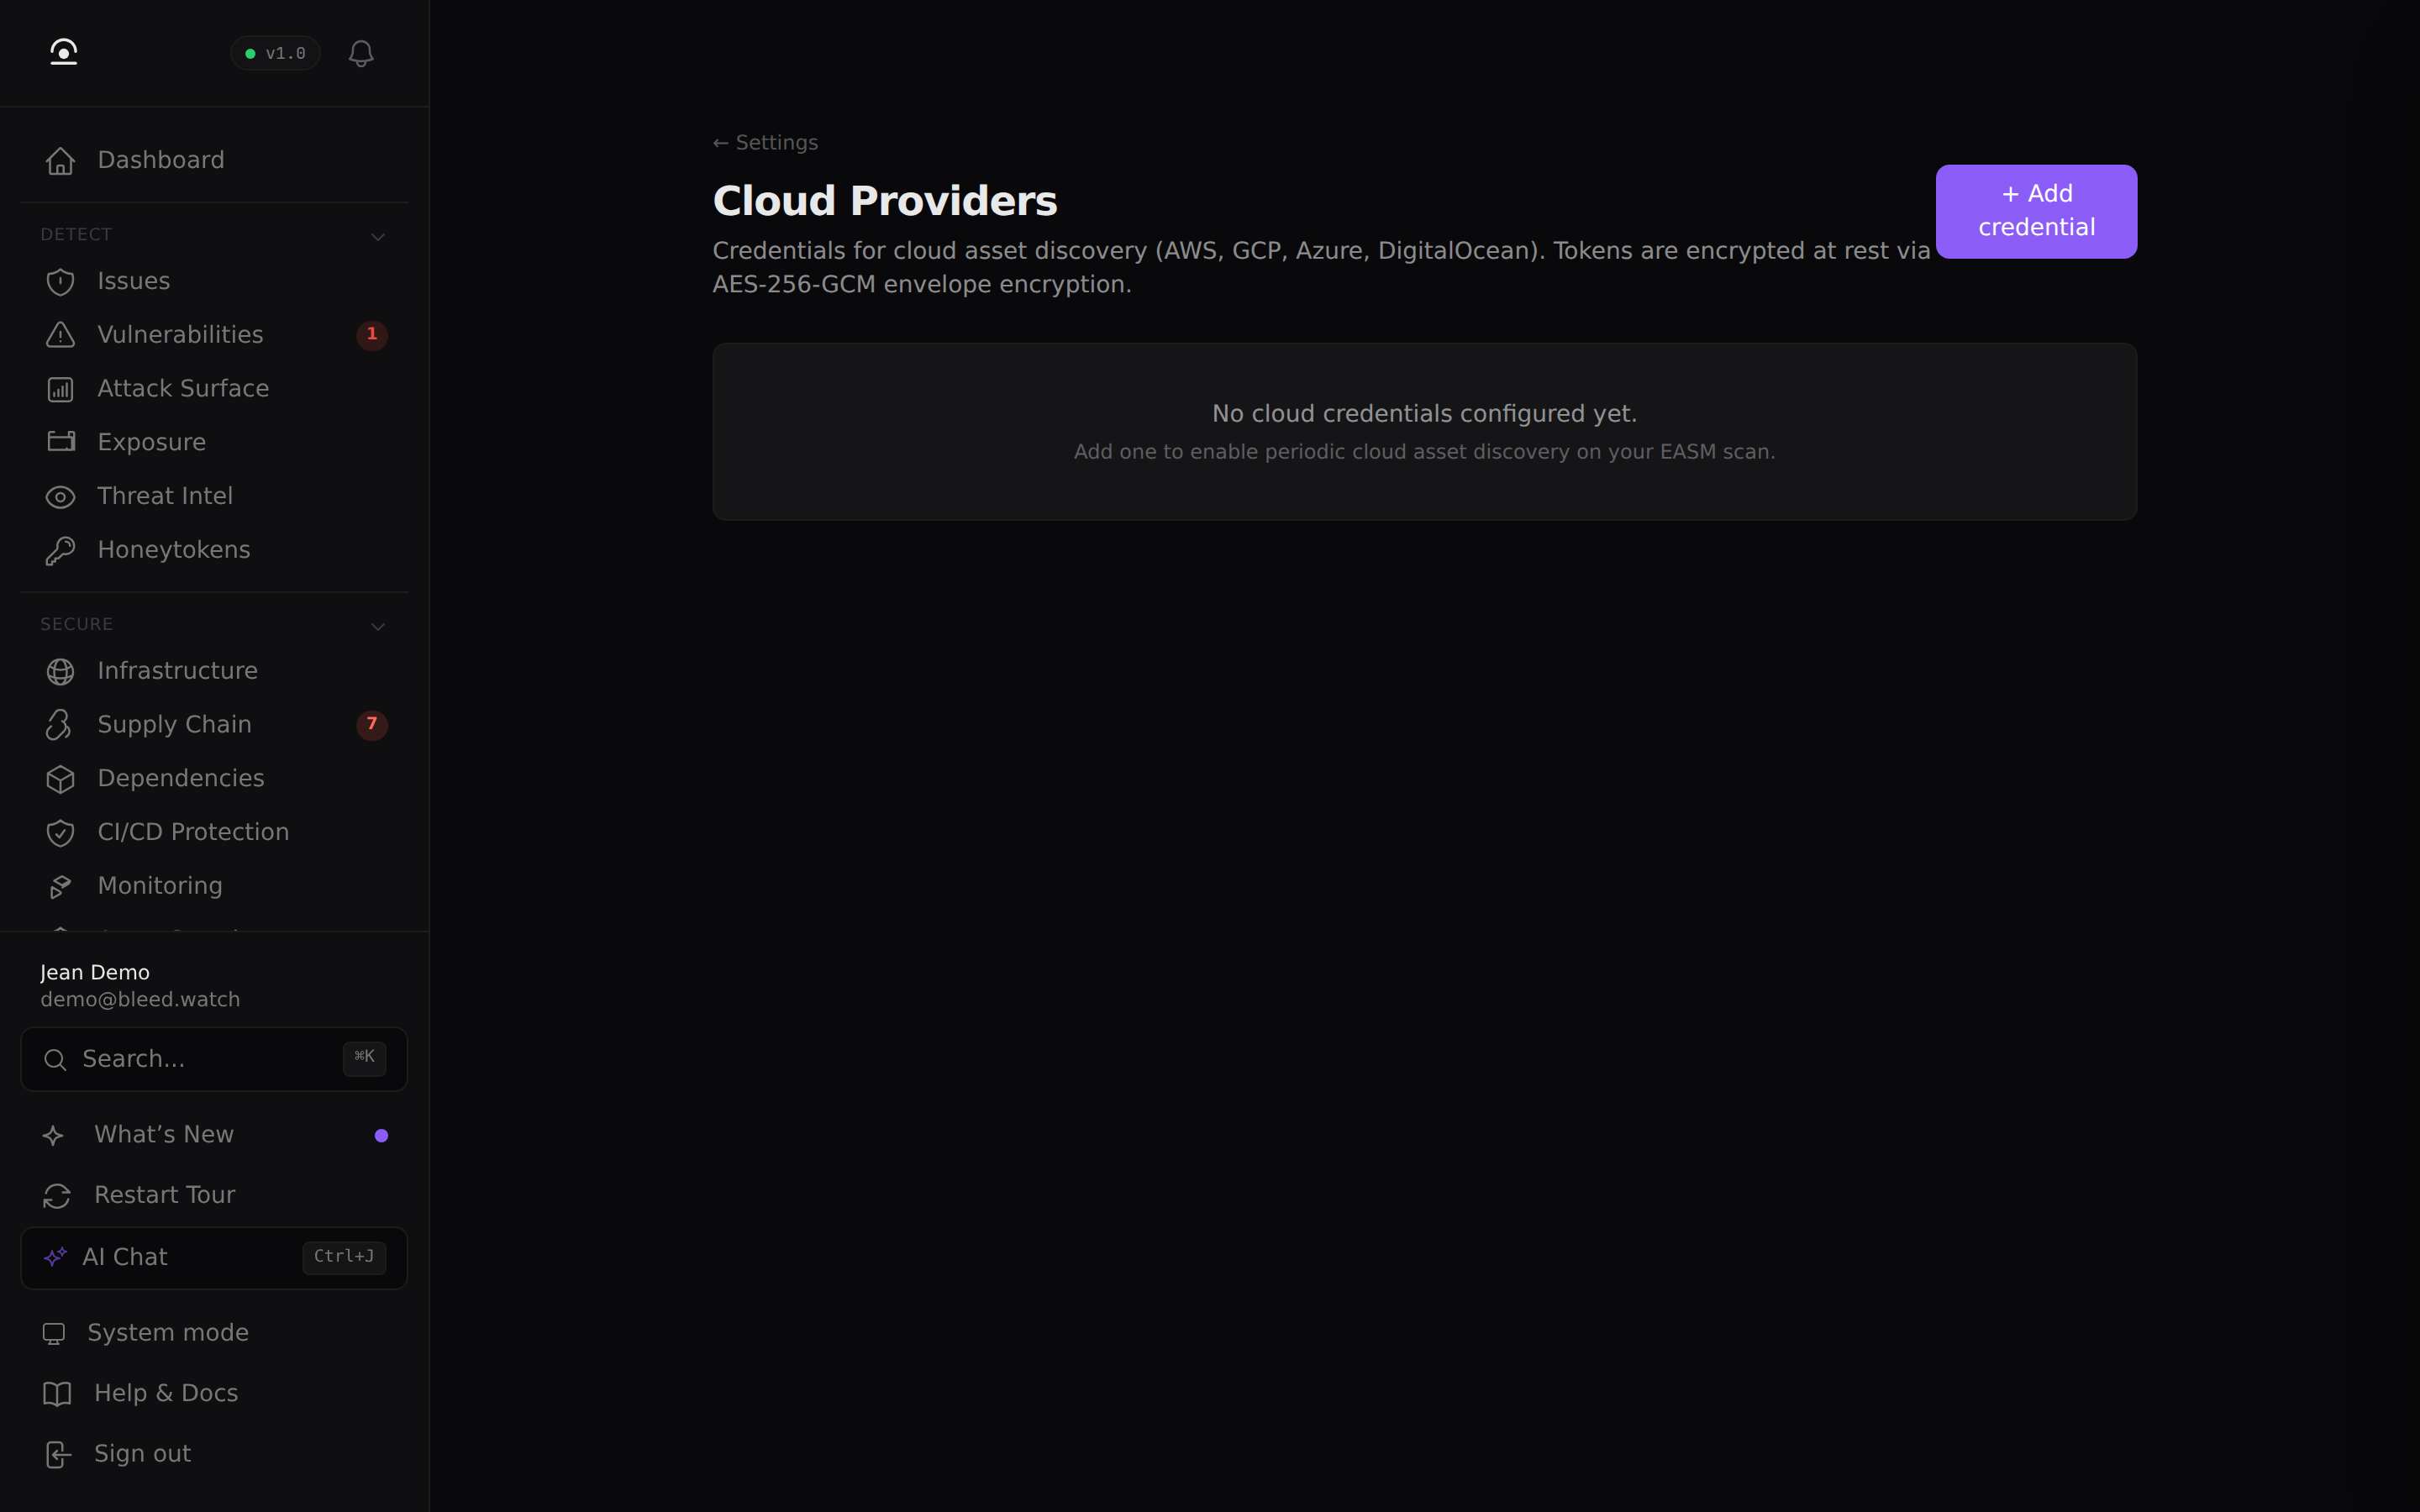
- Log in to BleedWatch and open Settings → Cloud Providers.
- Click + Add credential.
- Select Provider: Google Cloud.
- Set Label to something meaningful, e.g.
acme-prod-gcp— you can add multiple projects with different labels. - Paste the entire contents of the JSON file into the Service Account JSON field.
- Click Save.
BleedWatch encrypts the JSON with AES-256-GCM envelope encryption before writing it to the database — the plaintext is never persisted.
Step 6 — Validate
Back on the credential list, click Validate next to the new entry. BleedWatch parses the JSON and checks that:
- The
typefield equalsservice_account - The required fields
project_id,private_key, andclient_emailare present and non-empty
If validation passes, a green ● valid badge appears. Your next EASM scan cycle will automatically include this GCP project.
Troubleshooting
"Invalid JSON: paste the full service account key file contents"
The JSON is malformed. Re-open the downloaded file and copy the whole thing (it must start with { and end with }). Make sure no characters were stripped by your editor or terminal.
"Expected type='service_account', got authorized_user"
You pasted a user credential, not a service account key. Authorized-user credentials are generated by gcloud auth application-default login and are not accepted — they tie scans to a specific person. Go back to Step 2 and create a service account.
"Missing required SA fields: private_key"
The key was revoked or the file was truncated. Re-download from Service Accounts → Keys. If you see "This account has no keys", create a new one.
A credential is stored but the scan finds nothing
- Confirm the Cloud Asset Inventory API is enabled (Step 1).
- Confirm the service account has
roles/cloudasset.vieweron the project level (not just a folder or organization). - Confirm your project actually has public-facing resources. Freshly created projects with only private VMs produce zero assets.
"This service account does not belong to this project"
The JSON key was generated in a different project. Each credential must come from the project you want to scan. Create a new service account in the correct project.
Rotating the credential
Service account keys do not expire by default, but you should rotate them annually — or immediately if the JSON file may have been exposed.
- Settings → Cloud Providers → click Validate to confirm the existing one still works, then note its Label.
- In GCP, create a new key for the same service account (you can keep multiple keys active during rotation).
- In BleedWatch, click the row's ... menu → Rotate → paste the new JSON.
- Back in GCP, delete the old key.
What gets scanned
BleedWatch only calls these GCP APIs:
cloudasset.googleapis.com/v1/projects/{projectId}/assets— enumerate public assetscloudresourcemanager.googleapis.com/v1/projects/{projectId}— verify project access
We never call write operations, storage object reads, IAM listing beyond the project's own bindings, or any API that could expose workload data. If your organization uses VPC Service Controls, you can restrict the service account to these two APIs only.
Removing the integration
- BleedWatch Settings → Cloud Providers → row Delete → confirm.
- In GCP, delete the service account entirely (or delete its key if you want to keep the account for other uses).
Both steps are idempotent and leave no residual access.