Jira — Create Issues from Findings
Connect your Atlassian Jira Cloud workspace to turn BleedWatch findings into Jira issues automatically. Severity becomes Jira priority; the finding's deep link and metadata ship inside the issue description.
Jira Cloud only. Jira Server / Data Center are not supported today — the OAuth endpoints we use live on auth.atlassian.com and only issue tokens for cloud workspaces.
Before you start
- You are a site admin on the Atlassian workspace you want to connect (or you have delegated OAuth consent for third-party apps).
- You have access to BleedWatch with the Admin role.
- You know which Jira project should receive findings — you'll need its project key (e.g.
SEC,OPS) when building routing rules.
Estimated setup time: 3 minutes.
Step 1 — Connect Jira
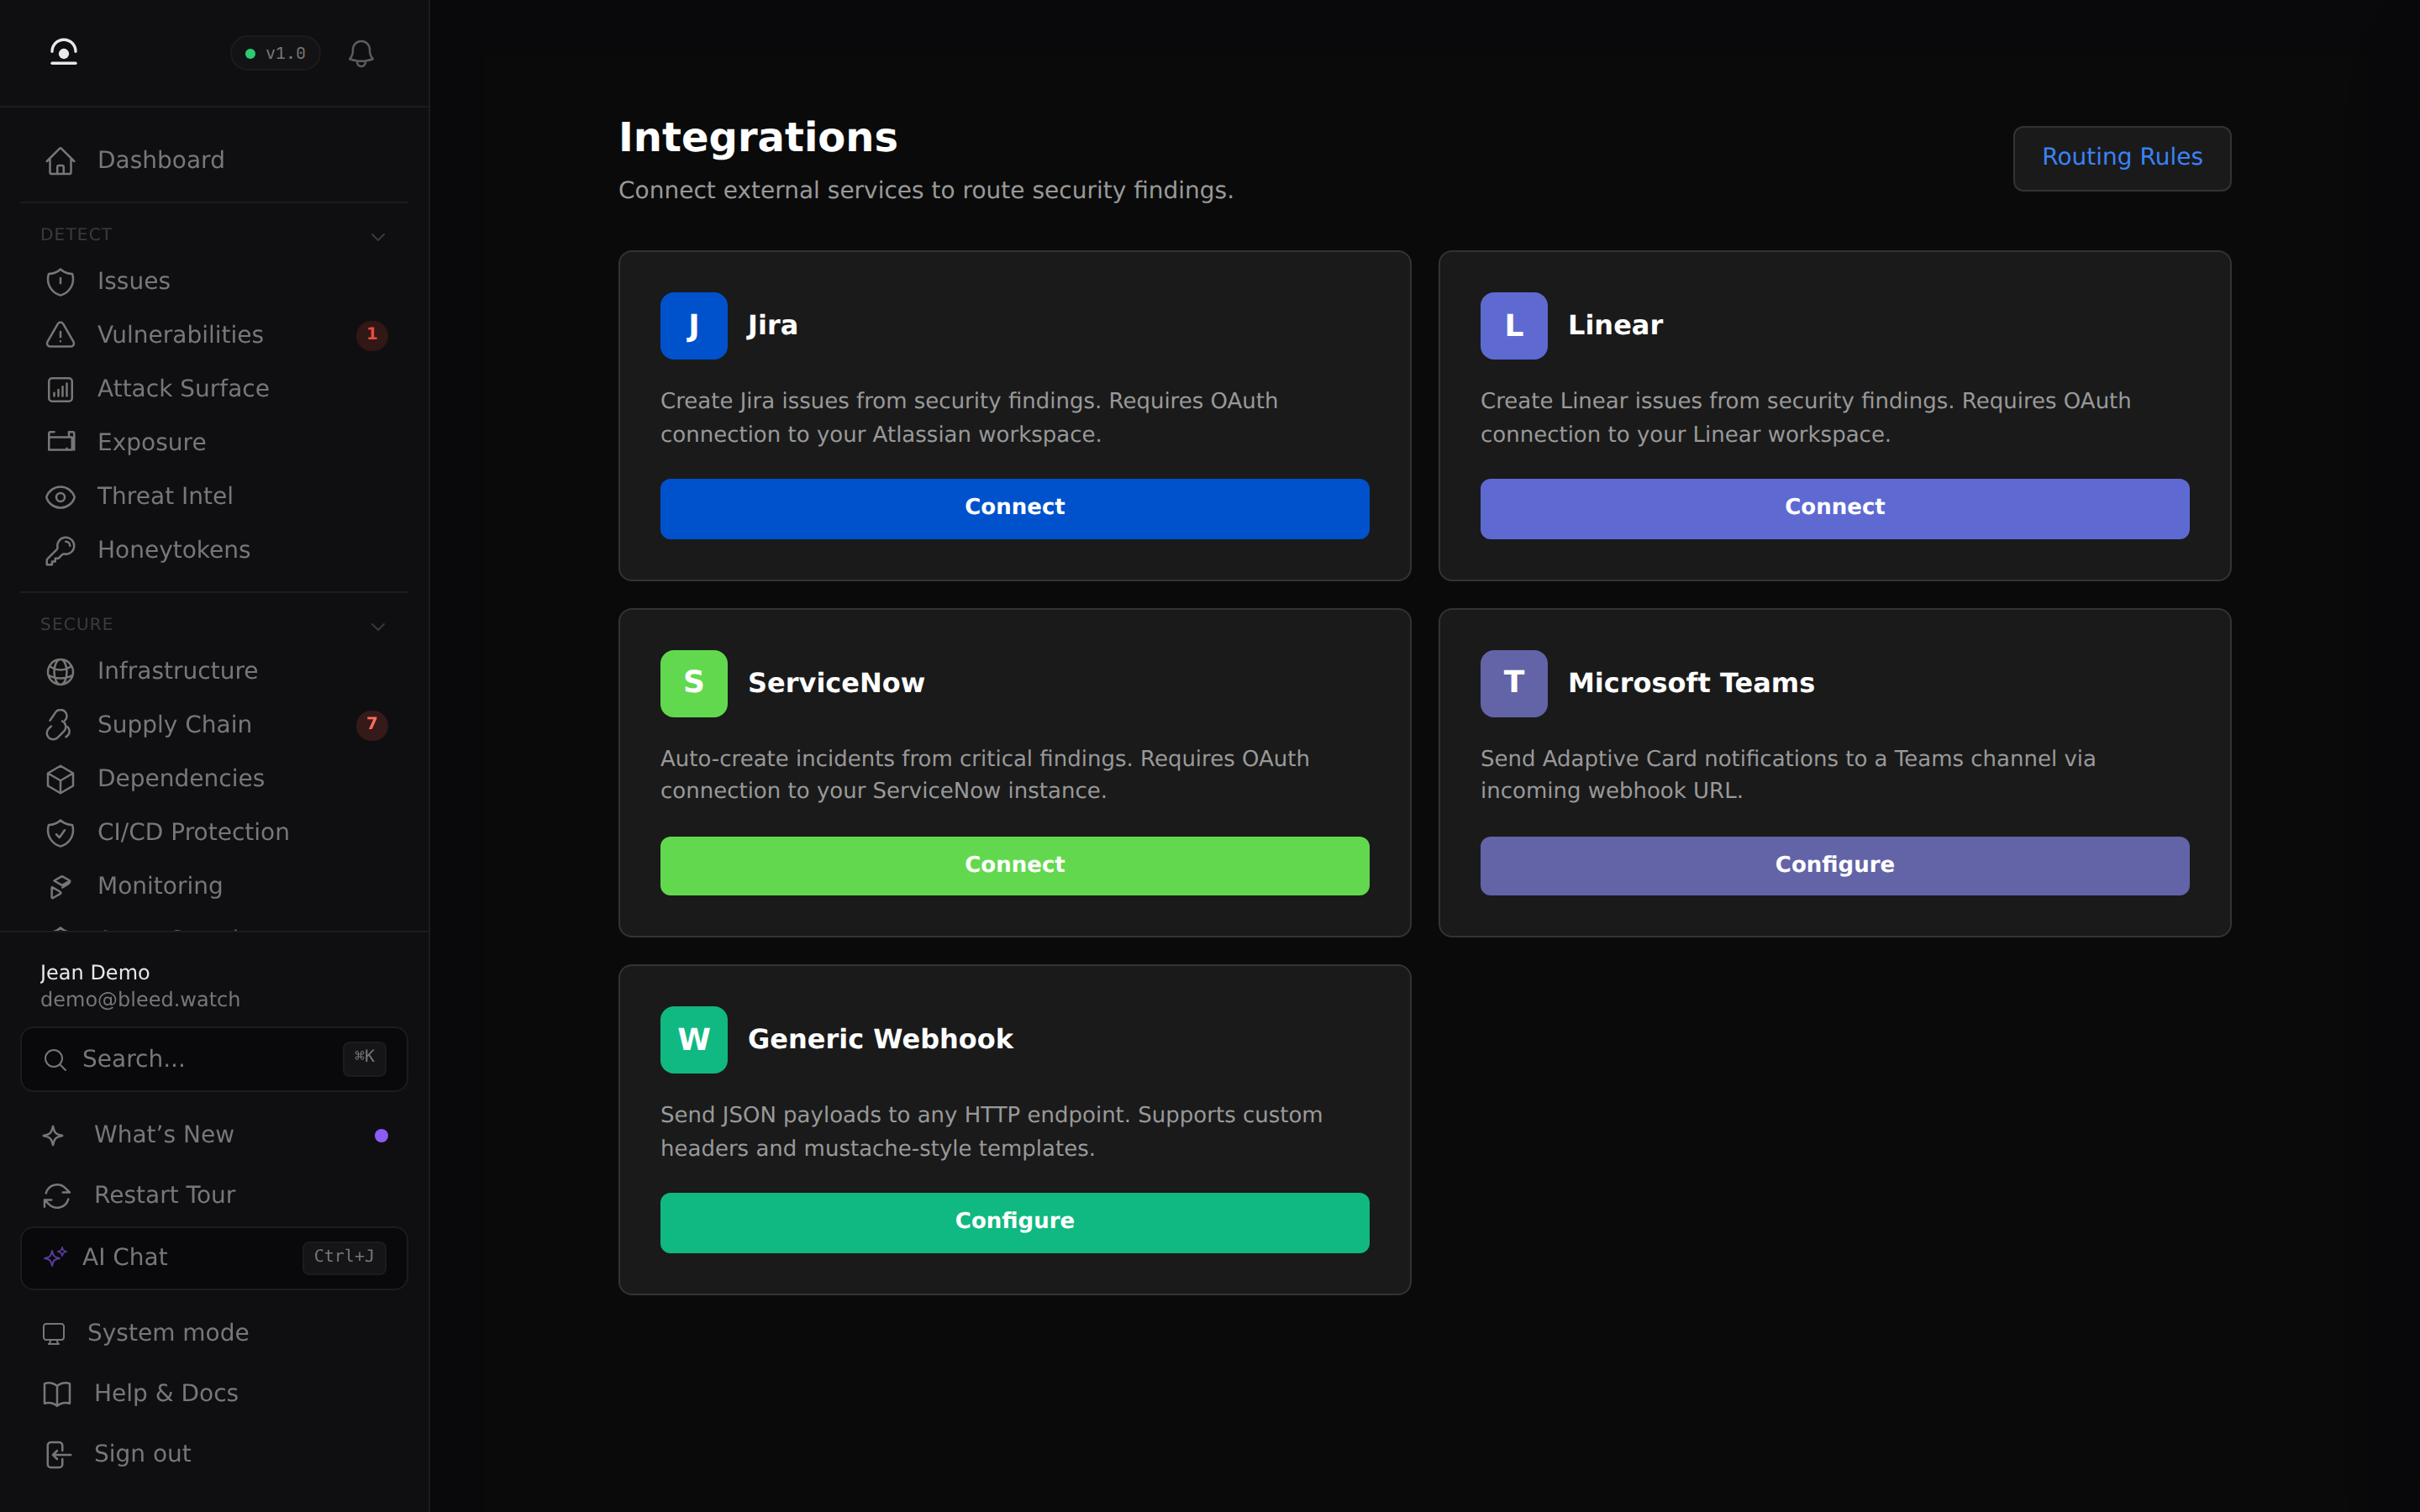
- In BleedWatch, go to Sentinel → Integrations.
- On the Jira card, click Connect.
- You are redirected to Atlassian's OAuth consent page. Sign in with the account that should own the created issues (see Using a dedicated service user).
- Review the requested scopes:
read:jira-work— list projects, read issue types, verify the connectionwrite:jira-work— create issuesread:jira-user— resolve assignees by accountId
- Click Accept.
- You land back on BleedWatch with the Jira card flipped to ● Connected.
Because BleedWatch ships a pre-registered Atlassian OAuth app, there is no "create an app" step on your side. One click and you're through.
Step 2 — Route findings to Jira
Connecting only establishes trust. Nothing is created until you configure a routing rule pointing at Jira.
- Go to Sentinel → Routing Rules → + New rule.
- Set:
- Trigger: e.g.
Severity: critical(add finding types if you want narrower scope). - Channel:
jira. - Site URL: your workspace URL —
https://your-tenant.atlassian.net. - Project key: the key of the project that receives findings, e.g.
SEC.
- Trigger: e.g.
- Save.
Every matching finding now fires a POST /rest/api/3/issue call and an issue appears in your project within seconds.
How findings map to Jira issues
| Field | Value |
|---|---|
| Project | The projectKey set on the routing rule |
| Summary | [SEVERITY] FINDING-REF — <finding title> |
| Description | Atlassian Document Format (ADF) — severity, asset, status, full description, and a deep link back to the finding |
| Issue Type | Bug (default) |
| Priority | Mapped from finding severity (see below) |
| Labels | bleedwatch, severity-<severity> |
Severity → Priority
| BleedWatch severity | Jira priority |
|---|---|
| Critical | Highest |
| High | High |
| Medium | Medium |
| Low | Low |
| Info | Lowest |
If your Jira project uses a custom priority scheme that doesn't include one of these values, Atlassian silently falls back to the scheme default. Rename your priorities or set up a Jira Automation rule to remap severity-* labels to your house priorities.
Troubleshooting
"Failed to start Jira OAuth flow"
Our JIRA_CLIENT_ID isn't set. Open a support ticket — this is server-side config on our end.
After Accept, you land on ?error=access_denied
The admin account denied the consent. Retry with a user that can grant third-party OAuth for the workspace. If your organization disallows third-party apps via Atlassian admin → Security → External apps, an org admin must allowlist BleedWatch first.
"Invalid state parameter" on callback
The authorize took more than a few minutes (expired browser session). Start over at Sentinel → Integrations → Connect.
"Failed to exchange Jira auth code" (HTTP 502)
Transient Atlassian issue or the auth code was already consumed (double-click on Accept). Click Connect again — no data is stored until the exchange succeeds.
Routing rule matches, but no issue appears in Jira
- Confirm ● Connected on the Jira card. If it reverted to disconnected, the refresh token expired or was revoked on Atlassian side. Click Connect again.
- Confirm the project key on the rule is correct (case-sensitive). A typo creates zero issues and no client-visible error.
- Confirm the OAuth user still has
write:jira-workon that project. A permission change on the Atlassian side can silently remove the ability to create issues.
Issue shows up with priority = Medium for every finding
Your Jira project uses a custom priority scheme that doesn't recognize the values BleedWatch sends. See the Severity → Priority section above — either rename your priorities or add a Jira Automation rule keyed on the severity-<level> label.
Cannot find the bleedwatch or severity-* labels in Jira search
Labels are created on first use. The first finding that matches a rule will create them; you can then filter JQL with labels = bleedwatch AND labels = "severity-critical".
Using a dedicated service user
We recommend authorizing the OAuth connection from a dedicated Atlassian user, not a human admin.
- In Atlassian admin, invite a new user (e.g.
[email protected]). Grant them access to only the projects that should receive findings. - Give them the Create Issues, Assign Issues, and Browse Projects permissions on those projects.
- Sign in as that user in a private browser window, then go through Step 1 above.
This isolates the integration from personnel turnover — no issues break when an employee leaves.
Rotating access
Jira access tokens expire in 1 hour; refresh tokens are rotated on every use and are valid for 90 days. BleedWatch handles both automatically.
If the refresh token ever expires (e.g. the OAuth user was deactivated for 90+ days), the Jira card flips to disconnected. Click Connect to reauthorize. No data on your Jira side is affected.
Disconnecting
Sentinel → Integrations → Jira → Disconnect deletes the stored tokens. Routing rules pointing at jira stop firing. Nothing is deleted on your Atlassian side — existing issues stay where they are.
To fully revoke BleedWatch's access on the Atlassian side, go to Account settings → Connected apps and revoke BleedWatch.